Initial setup
View as MarkdownFollow this page once the containers are running and InfraWard answers at your public URL. It takes about fifteen minutes.
1. Sign in as the first administrator
Section titled “1. Sign in as the first administrator”Open InfraWard and sign in with the ADMIN_EMAIL and ADMIN_PASSWORD from .env.
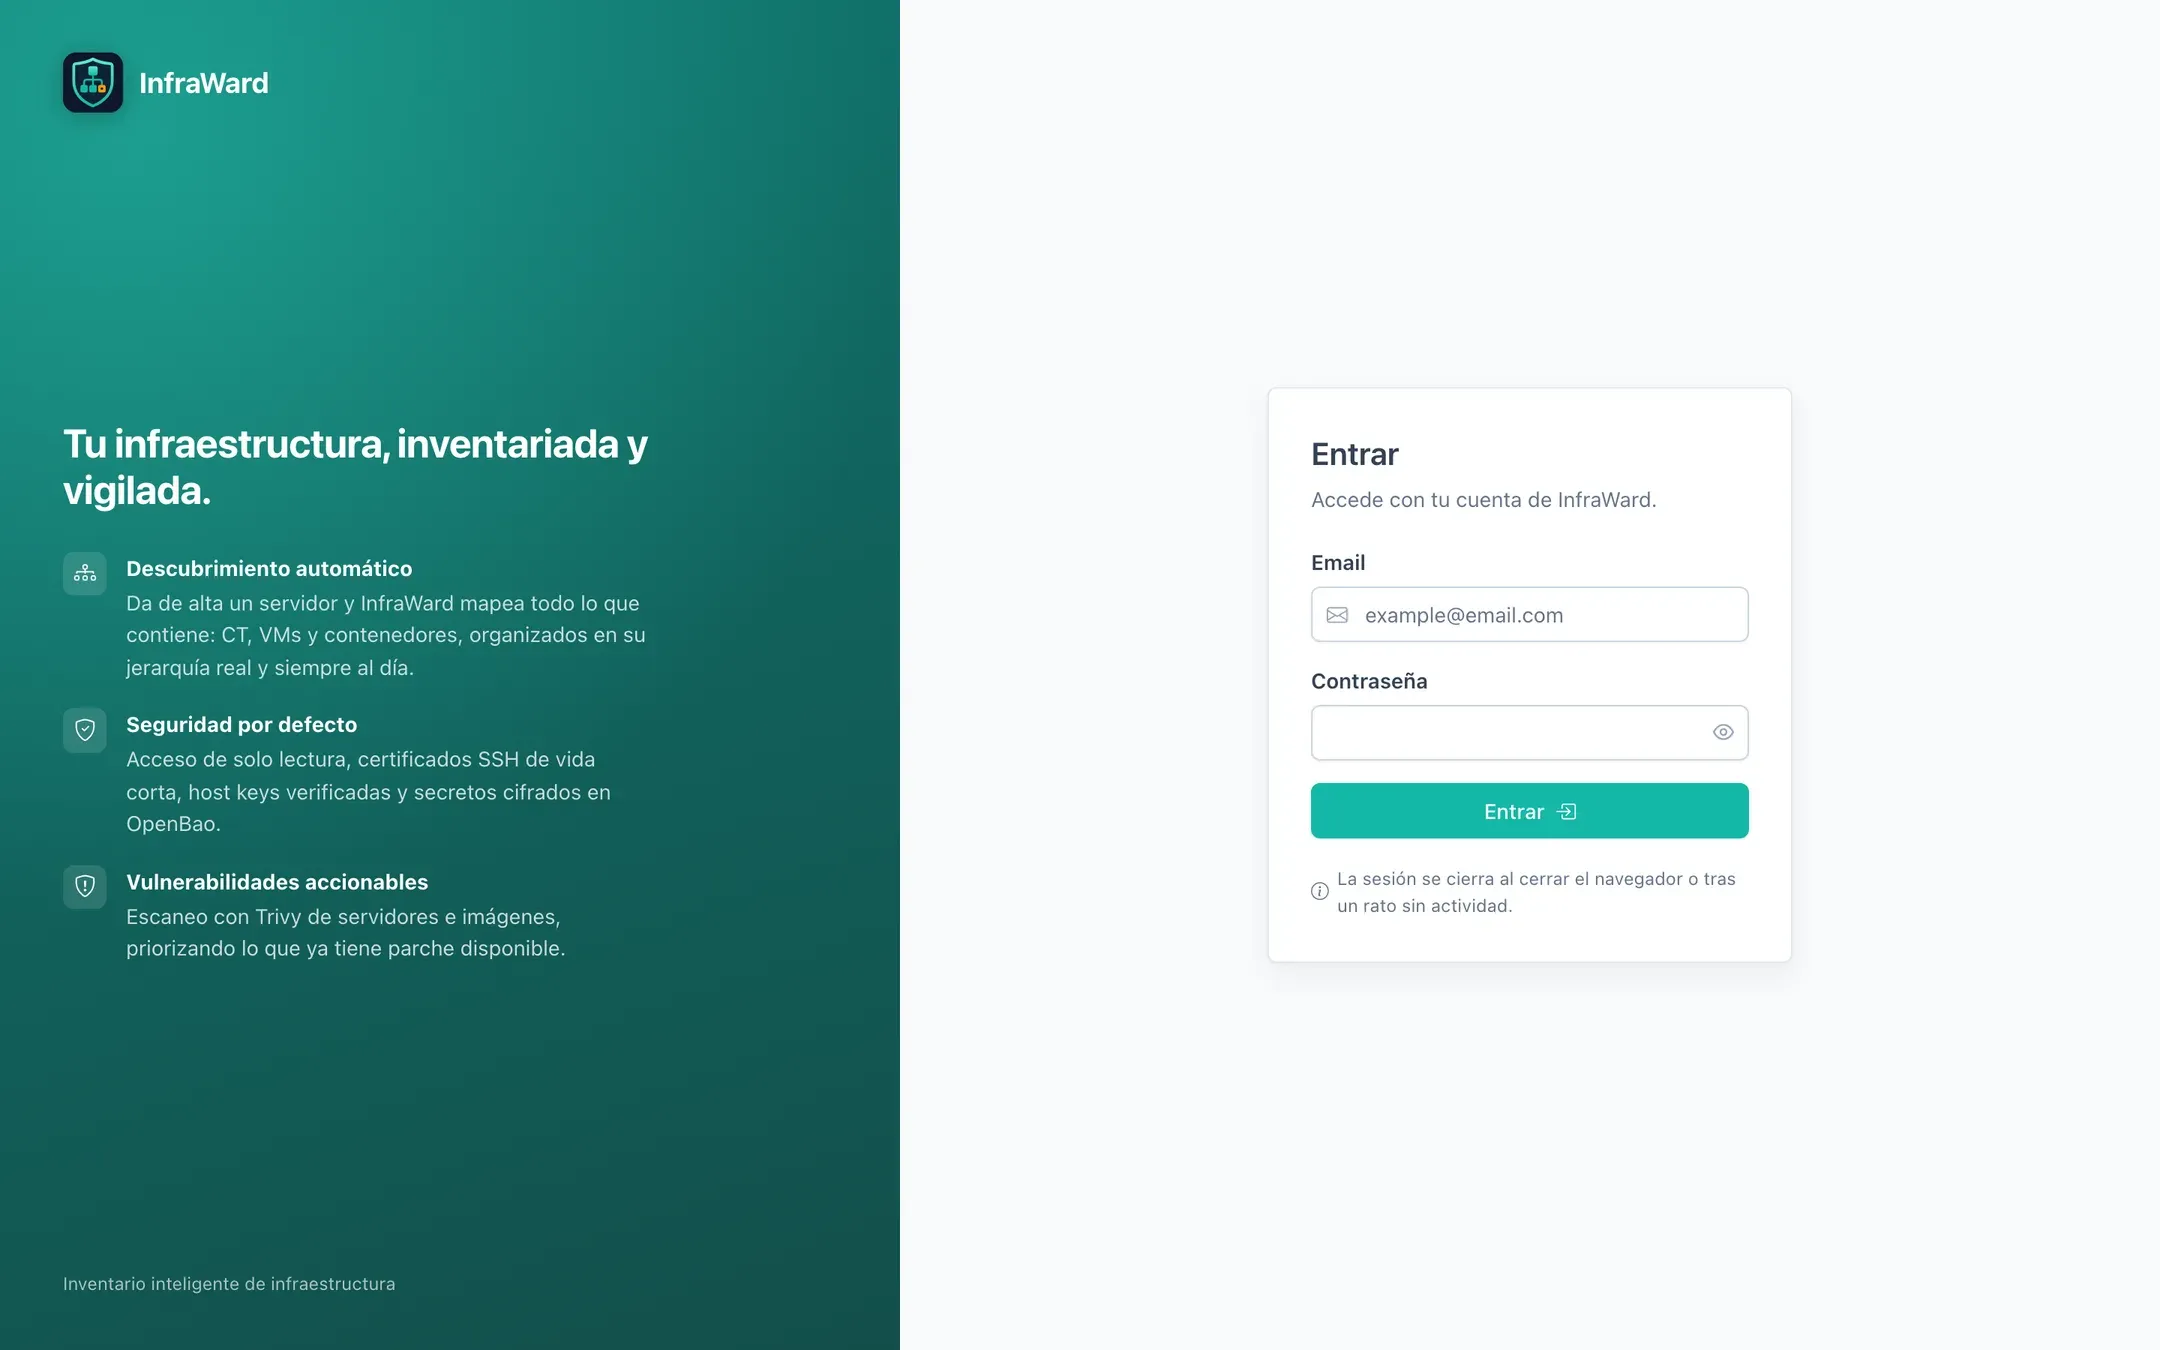
The account is created on the first start of the API, only if the database has no users. There are no built-in default credentials. If the page rejects the password, check the API log: when ADMIN_EMAIL or ADMIN_PASSWORD is missing or the password is shorter than 12 characters, the API logs a warning and creates no user.
2. Set up two-factor authentication
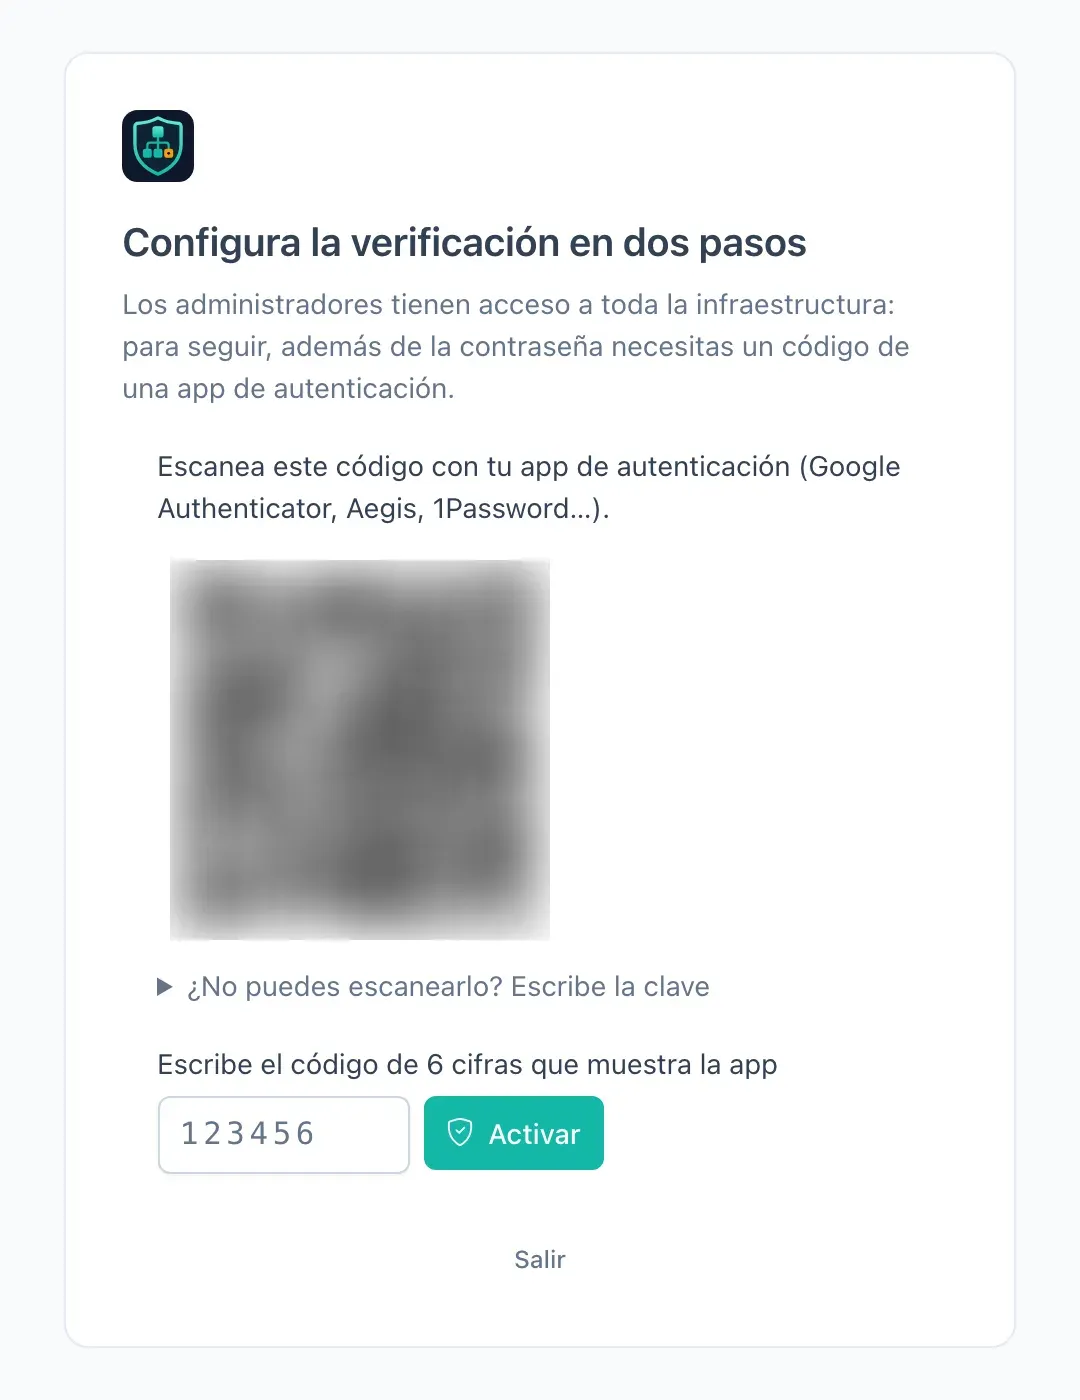
Section titled “2. Set up two-factor authentication”Two-factor authentication (TOTP) is mandatory for administrators who sign in with a password. After the password, InfraWard opens Configura la verificación en dos pasos (Set up two-step verification) and does not let you continue until it is done.
-
Scan the QR code with an authenticator app. If you cannot scan it, open ¿No puedes escanearlo? Escribe la clave (Can’t scan it? Type the key) and enter the key manually.
-
Type the 6-digit code shown by the app and select Activar (Enable).
-
InfraWard shows ten recovery codes, once. Copy them or download them as
.txt, store them in a password manager and select Ya los he guardado (I have saved them).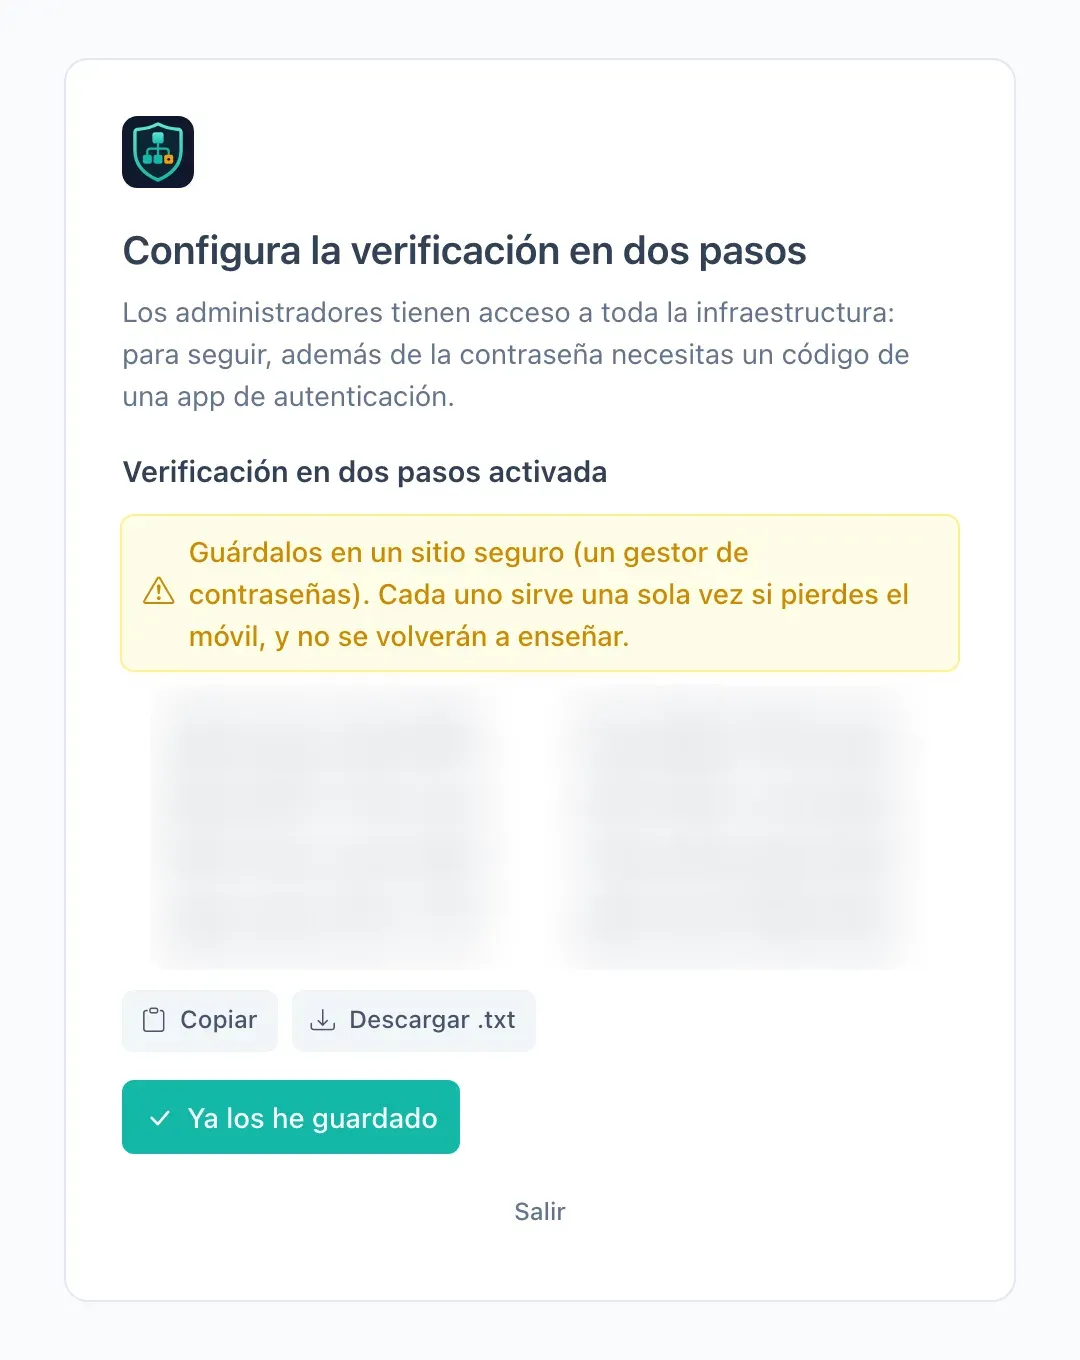
Each recovery code works once, in place of a TOTP code. To move the second factor to a new phone or generate new codes, go to Ajustes → Perfil → Seguridad (Settings → Profile → Security).
3. Check the secrets providers
Section titled “3. Check the secrets providers”Open Ajustes → Secretos (Settings → Secrets). With the default deployment both providers show Operativo (Operational): openbao stores secrets and signs SSH certificates, and local stores secrets.
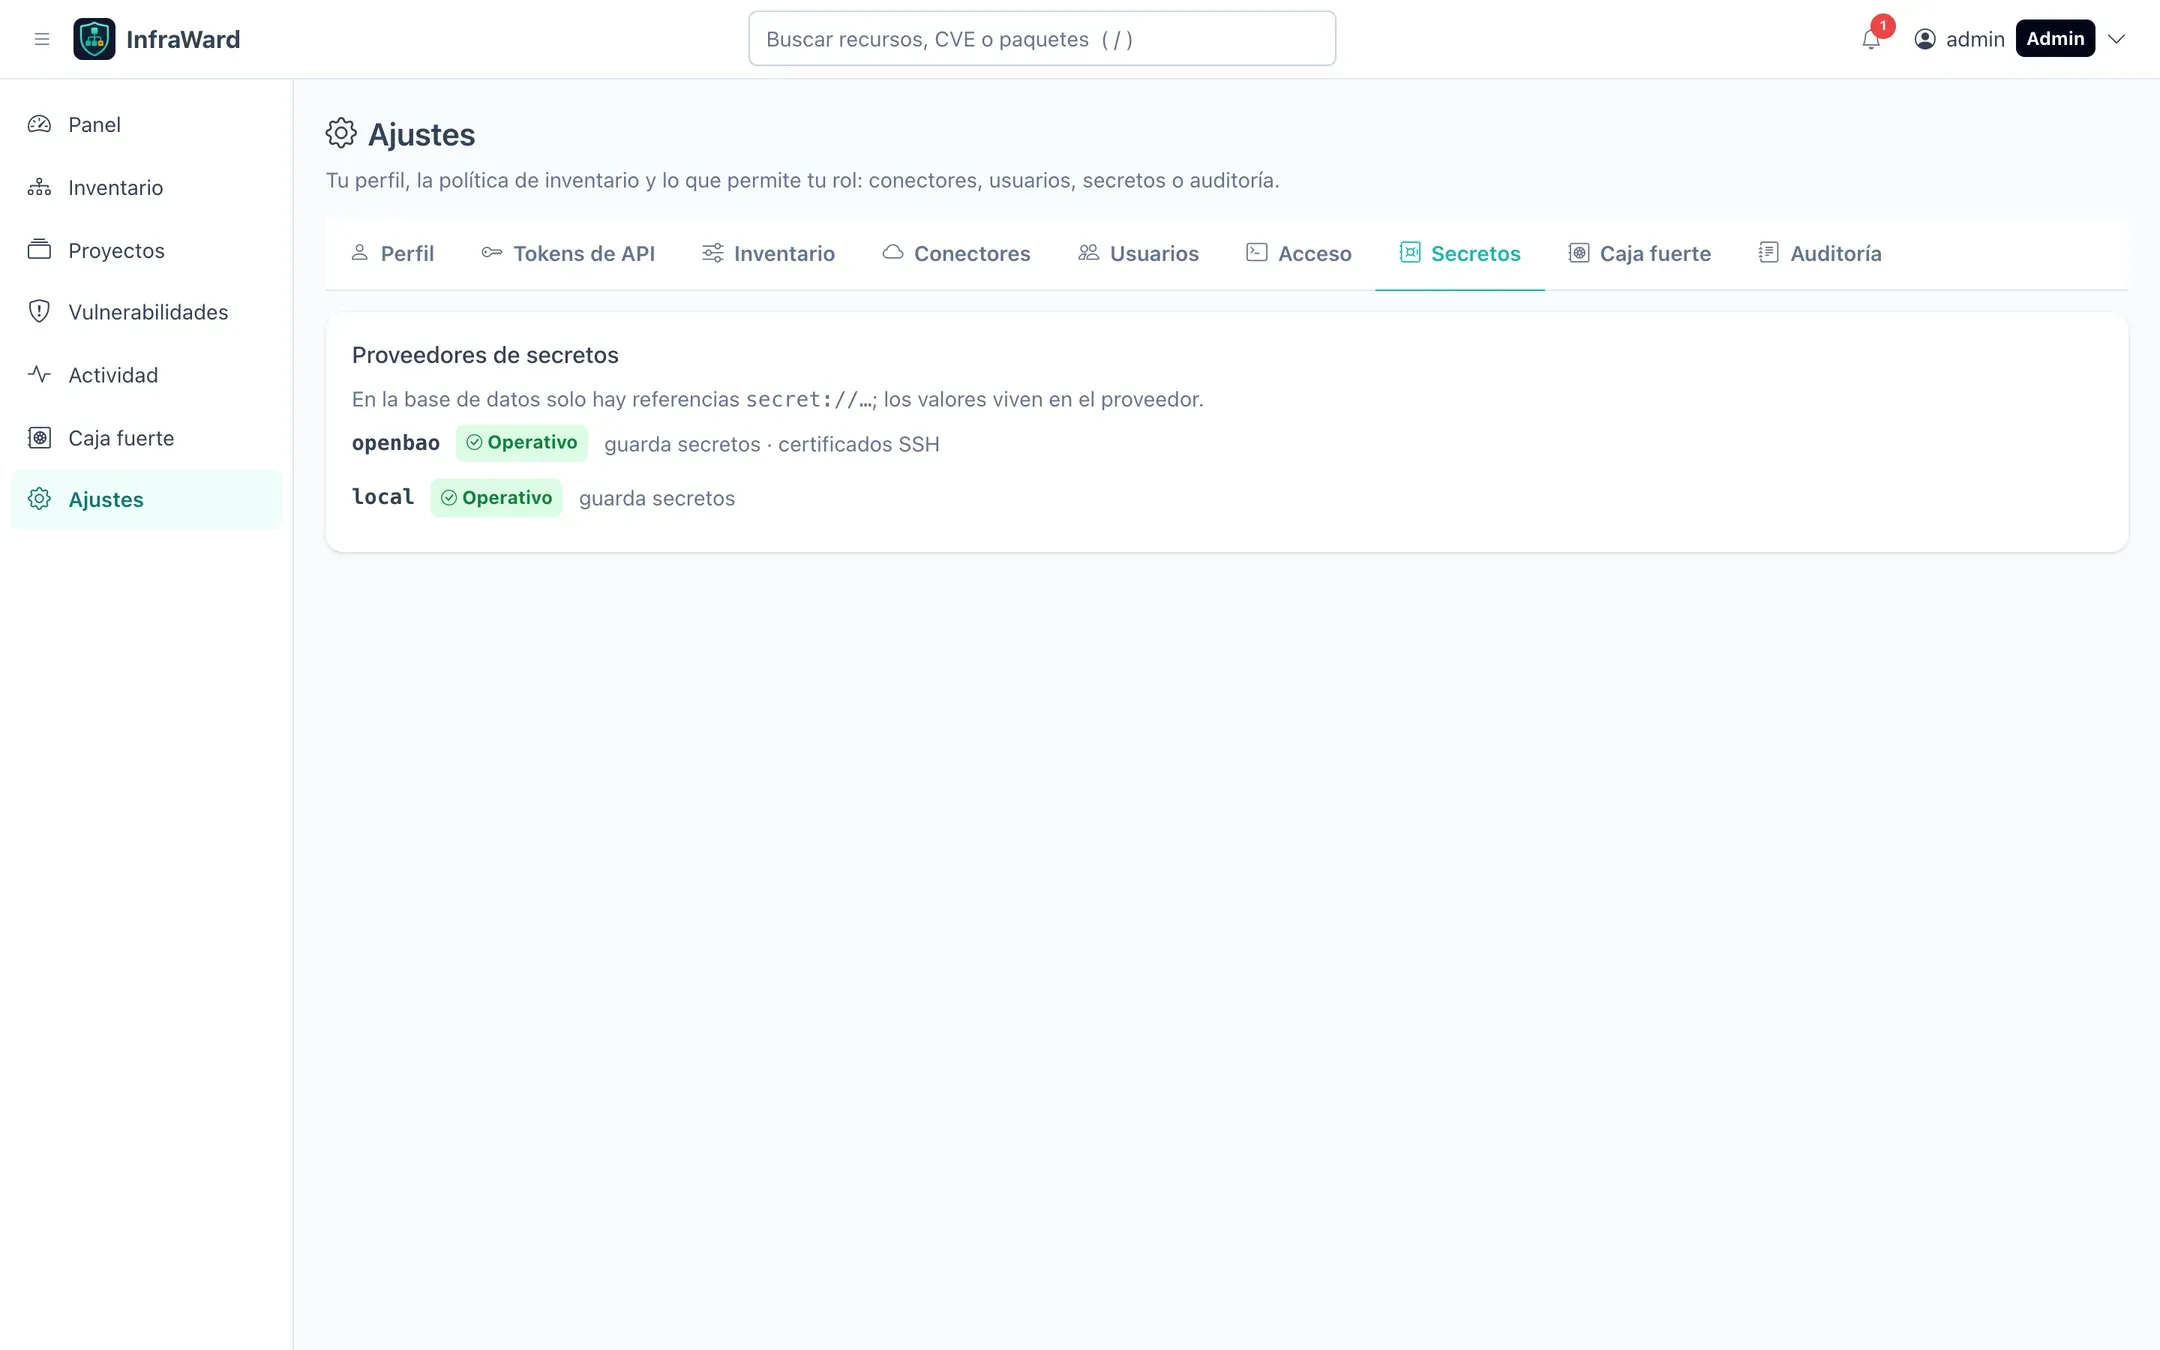
If openbao is missing or shows an error, the API could not log in with its AppRole. Check docker compose logs api and see Troubleshooting.
4. Review the inventory policy
Section titled “4. Review the inventory policy”Open Ajustes → Inventario (Settings → Inventory). The global policy applies to every asset that has no rule of its own:
| Setting | Default | Meaning |
|---|---|---|
| Reconciliación (Reconciliation) | every 6 h | How often each root node is collected and rediscovered. |
| Escaneo de vulnerabilidades (Vulnerability scanning) | enabled | Whether assets are scanned at all. |
| Escaneo automático (Automatic scanning) | yes, after collection and discovery | Whether a scan starts automatically after each collection. |
| Excluir del escaneo (Exclude from scanning) | nothing | Asset types, name patterns (bitnami/*, *-test) or specific assets that stay in the inventory but are not scanned. |
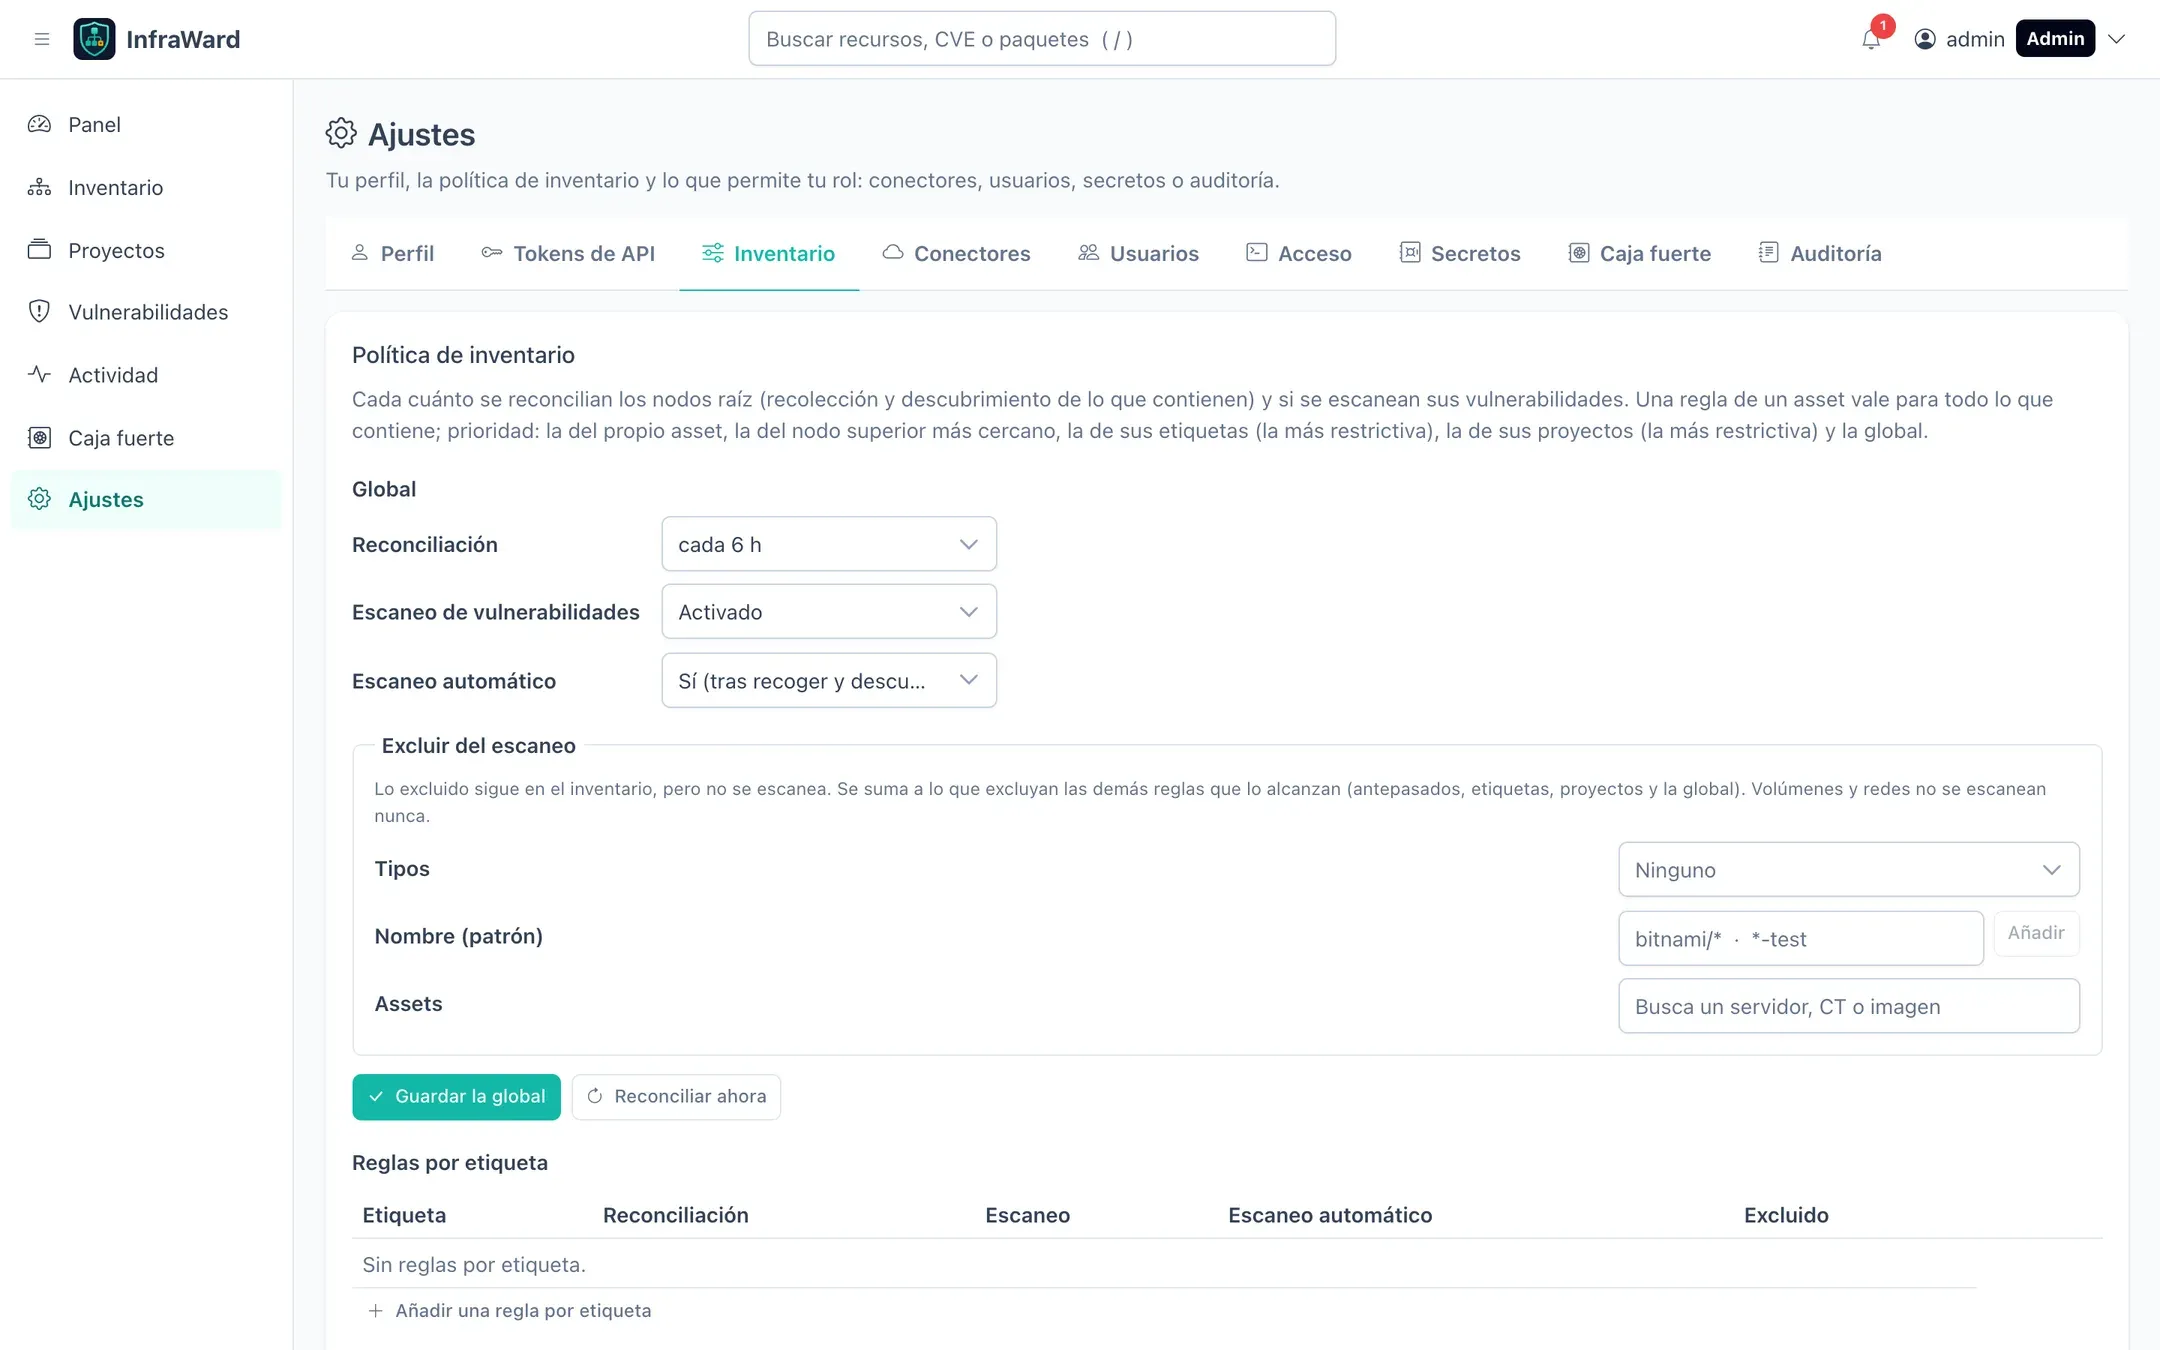
Rules can also be set per tag, per project and per asset. When several rules apply, the asset’s own rule wins, then the closest parent, then its tags (the most restrictive), then its projects (the most restrictive), then the global policy.
The same tab holds the expiry warnings for TLS certificates and domains, the Reenvíos NAT (NAT forwards) that tell InfraWard which public ports your router forwards to which internal servers (used to decide what is exposed), and the colours of tags.
5. Create users
Section titled “5. Create users”Open Ajustes → Usuarios (Settings → Users) and select Nuevo usuario (New user). Enter the email, the name and the role. InfraWard generates a 20-character temporary password and shows it once. Send it to the person through a secure channel. It is valid for 24 hours and must be changed at the first sign-in.
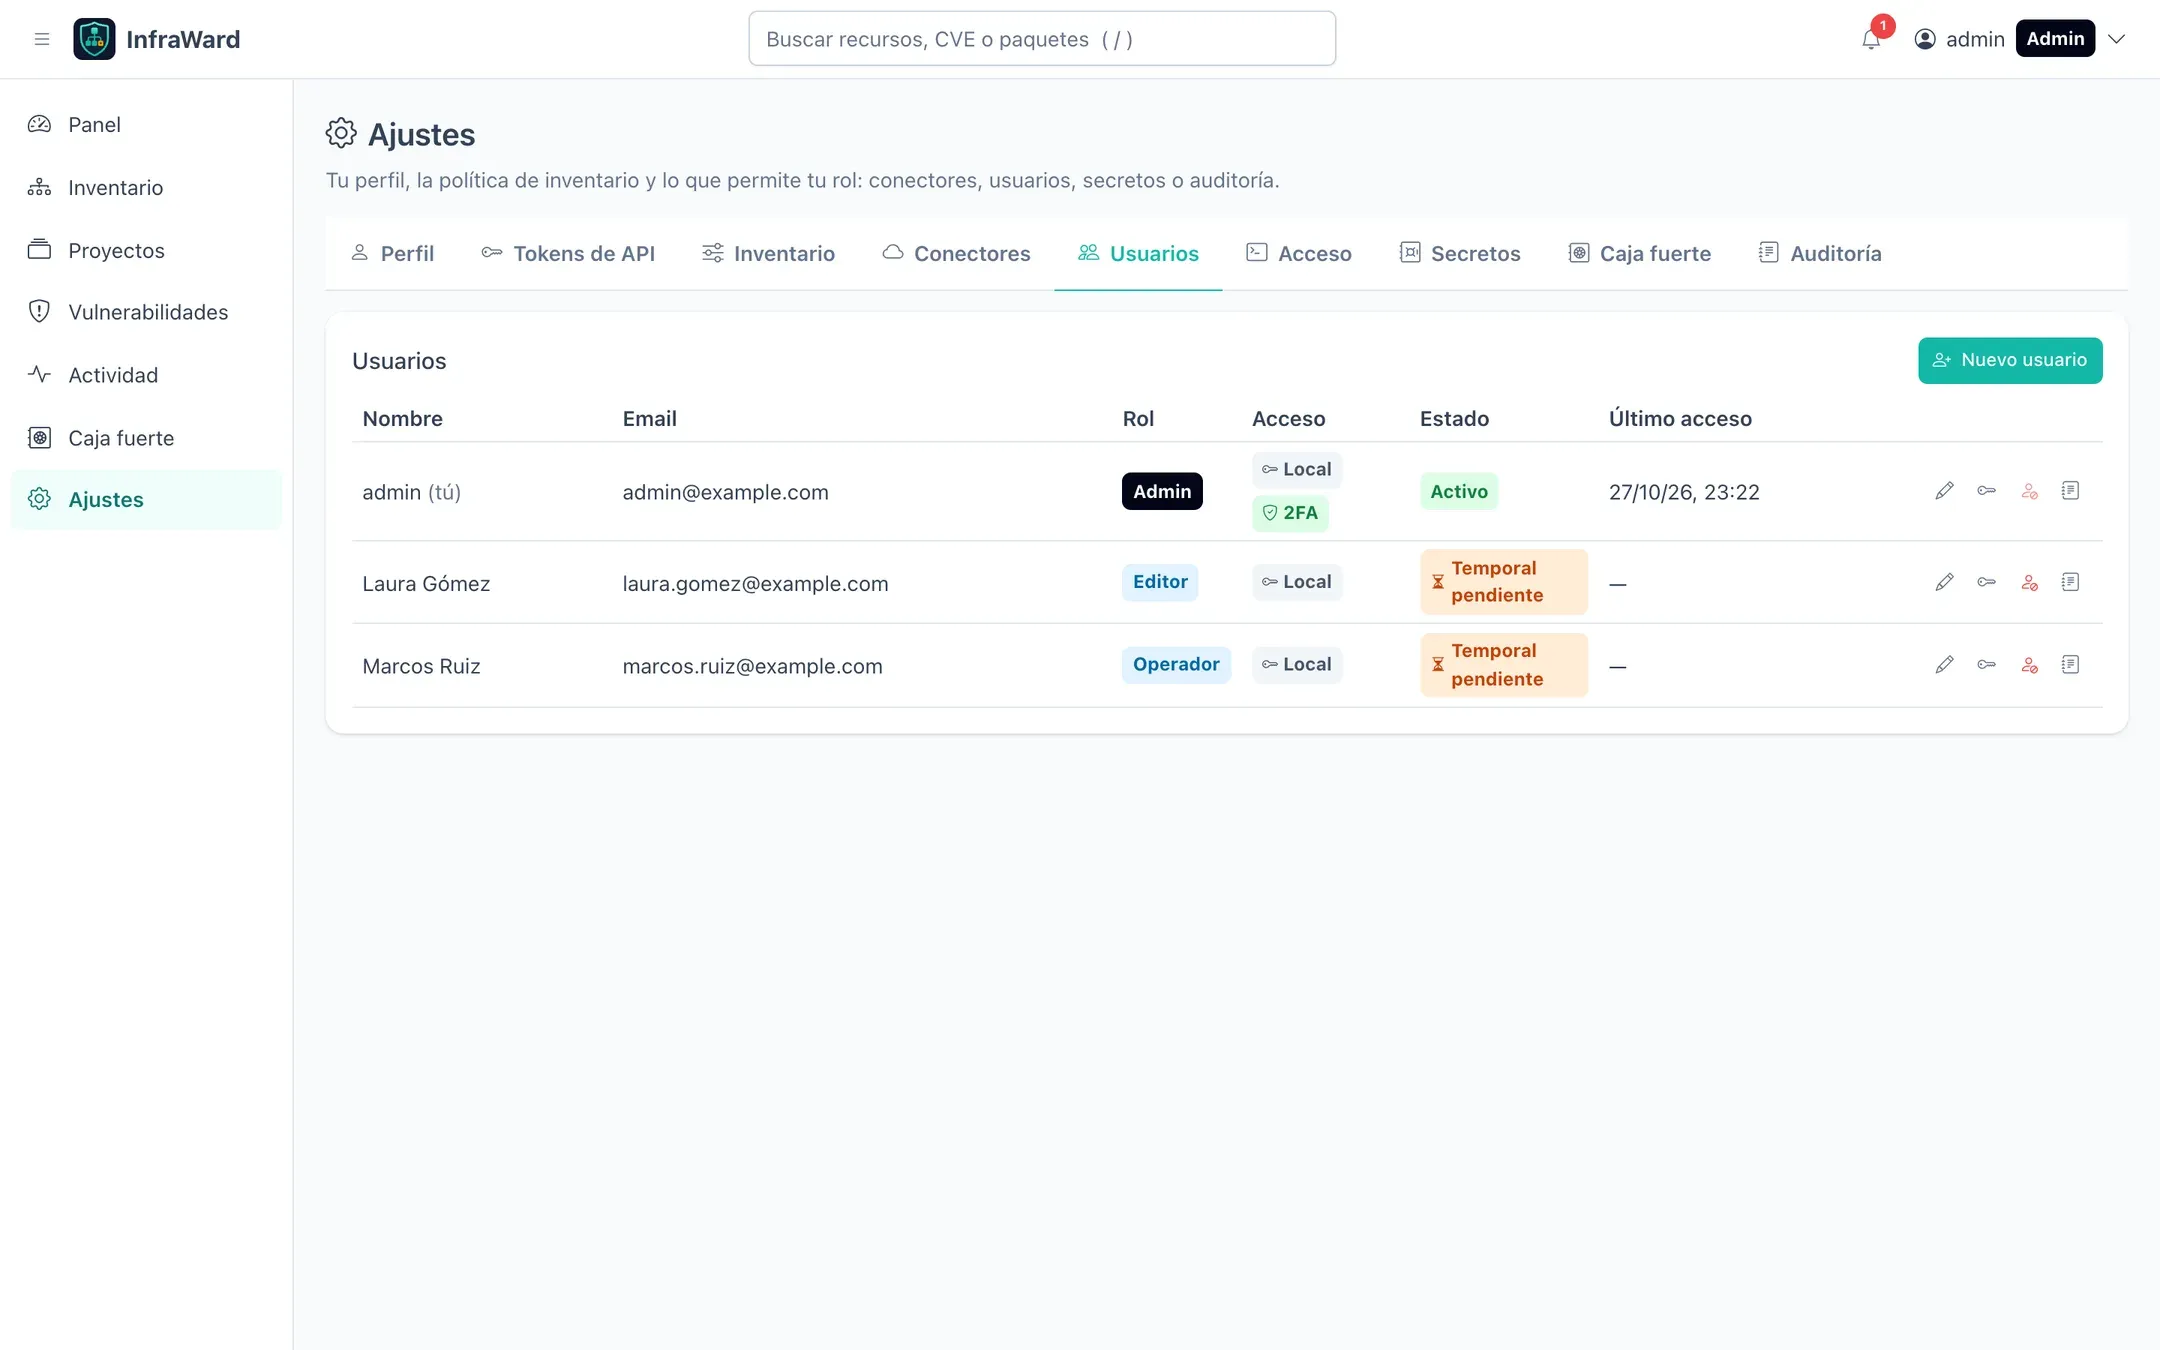
Roles are fixed. Every role can read the inventory and the vulnerabilities.
| Permission | Admin | Editor | Operator | Auditor | Viewer |
|---|---|---|---|---|---|
Collect, discover, scan, reconcile (assets.operate) |
✔ | ✔ | ✔ | ||
Enrol, edit, tag and retire assets (assets.write) |
✔ | ✔ | |||
Create and edit projects (projects.write) |
✔ | ✔ | |||
Change inventory policies (policy.write) |
✔ | ✔ | |||
Manage domain connectors (connectors.write) |
✔ | ✔ | |||
Manage vault entries without seeing passwords (vault.manage) |
✔ | ✔ | |||
Accept the risk of findings and reopen them (findings.accept) |
✔ | ✔ | |||
See secrets provider status (secrets.status) |
✔ | ✔ | ✔ | ||
See users (users.read) |
✔ | ✔ | |||
Read the audit log (audit.read) |
✔ | ✔ | |||
Purge assets permanently (assets.purge) |
✔ | ||||
Manage users and roles (users.manage) |
✔ | ||||
Reveal vault passwords (vault.admin) |
✔ | ||||
Manage outbound alert channels (alerts.manage) |
✔ | ||||
Open the web terminal (terminal.open) |
✔ | by access policy | by access policy | by access policy | by access policy |
Sensitive actions (changing roles, deactivating users, purging, revealing a vault password, opening a terminal, creating write tokens, changing alert channels) ask for re-authentication if the last confirmation is older than 10 minutes (REAUTH_MAX_AGE).
To sign users in with your identity provider instead, see Authentication, MFA and OIDC.
6. Grant terminal access (optional)
Section titled “6. Grant terminal access (optional)”Administrators can open a terminal on any server where interactive administration access is enabled. For anyone else, open Ajustes → Acceso (Settings → Access), choose a person or a role, then an asset, a tag or a project, and select Dar acceso (Grant access).
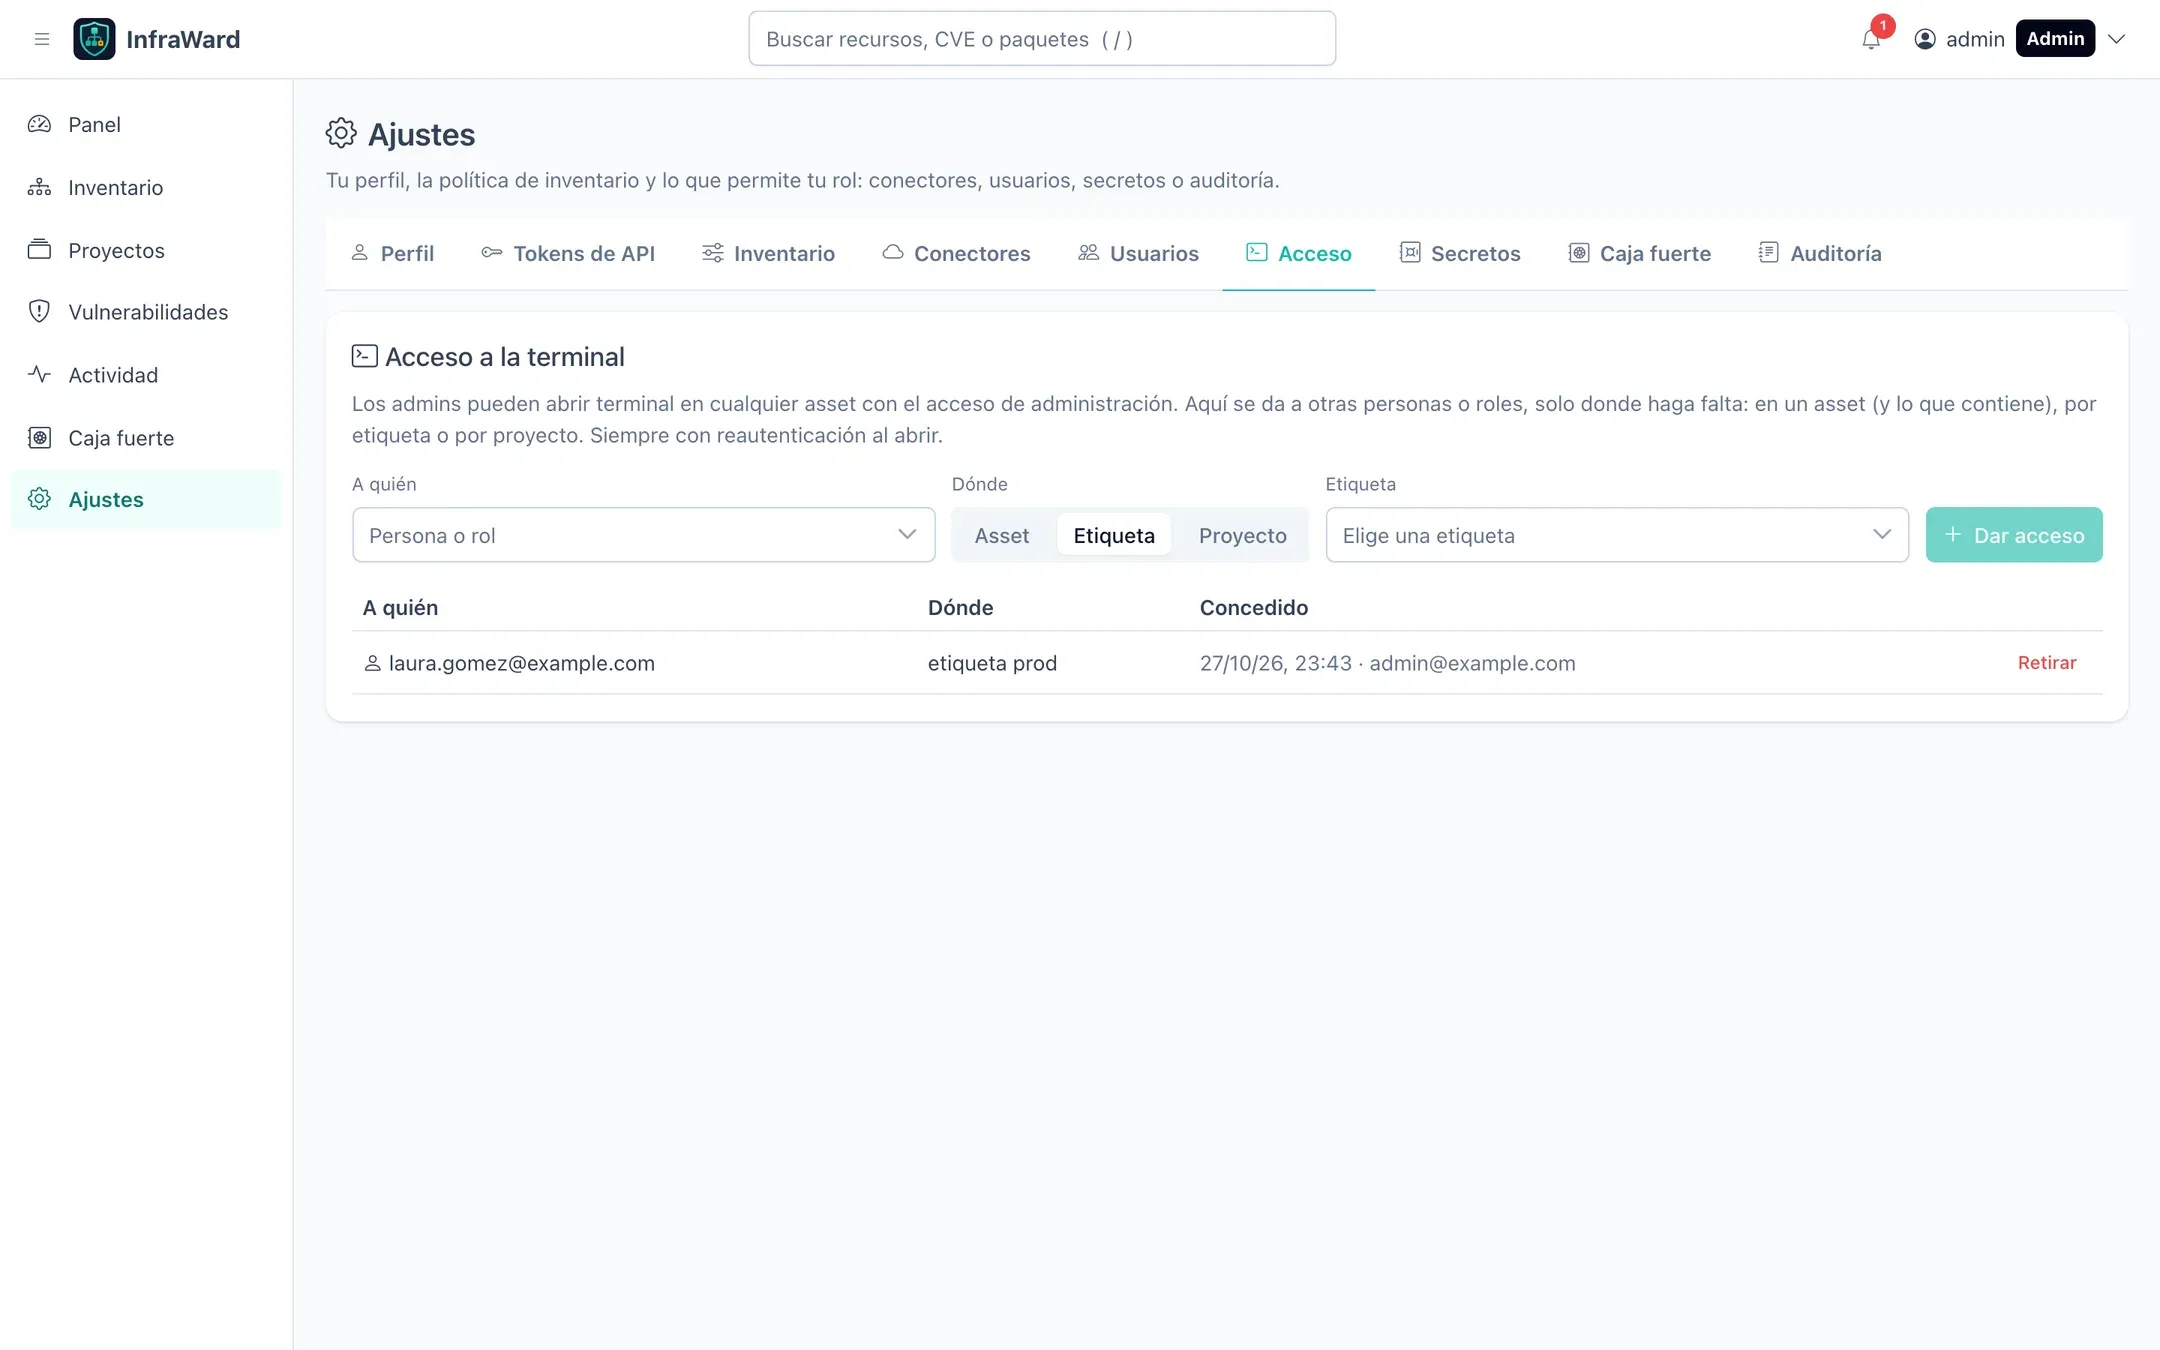
See Web terminal.
7. Set up outbound alerts (optional)
Section titled “7. Set up outbound alerts (optional)”Notifications always appear in the bell of the top bar: new, missing and retired assets, failed reconciliations, expiring certificates and domains, dangling DNS records, critical vulnerabilities in KEV that are exposed, accepted risks that expired and vault reveals. To also send them elsewhere, open Ajustes → Alertas (Settings → Alerts) and select Nuevo canal (New channel). Only administrators can do this, and it asks for re-authentication.
| Type | What it sends |
|---|---|
| Webhook | A JSON POST to an HTTPS URL, for example ntfy, n8n, Slack or Teams through an automation. With a Secreto de firma (Signing secret), each request carries X-InfraWard-Signature with an HMAC-SHA256 of <X-InfraWard-Timestamp>.<body>. |
A message to the Destinatarios (Recipients) through the worker’s SMTP server. Configure SMTP_* first; see Configuration variables. |
Qué recibe (What it receives) limits a channel to some notification types; empty means all. Vault reveals, which only administrators see, are only sent if you tick También las que solo ven los admins. Enviar prueba (Send test) sends a test message, and the list shows the result of the last delivery.
The webhook URL and secret are stored in the secrets provider. By default the worker only sends to public HTTPS addresses; for a receiver on your own network, see ALERTS_WEBHOOK_ALLOW_PRIVATE and ALERTS_WEBHOOK_ALLOW_HTTP.
8. Other settings
Section titled “8. Other settings”- Ajustes → Conectores (Connectors): add a Cloudflare connector to inventory your domains. See Domains.
- Ajustes → Tokens de API (API tokens): personal tokens for scripts, with an expiry of at most one year. See REST API.
- Ajustes → Caja fuerte (Vault): default rotation period, notifications on each reveal and days in the trash. See Credential vault.
- Ajustes → Auditoría (Audit): every sign-in (including failed ones), enrolment, purge, policy change, role change and terminal session, with its source IP.